Closet chaos isn’t just an eyesore, it’s time-wasting frustration hiding in plain sight. When every shelf becomes a jumbled pile of sweaters, shoes, and stuff you forgot you owned, finding what you need turns into an archaeological dig. Closet shelf organizers solve this by carving out defined zones within your existing storage footprint, transforming vertical space into usable real estate. Whether you’re tackling a cramped reach-in or a sprawling walk-in, the right organizers turn wasted cubic footage into functional storage that actually makes sense for how people live.
Table of Contents
ToggleKey Takeaways
- Closet shelf organizers transform disorganized storage into functional zones by adding dividers, cubbies, and compartments that prevent stack collapse and distribute weight evenly across shelves.
- Choose organizers based on measurements, material type (wire, fabric, plastic, or acrylic), and load capacity—measure shelf width, depth, vertical clearance, and rod height before purchasing.
- Implement vertical filing for similar items like sweaters and jeans to reclaim up to 30% more usable closet space compared to horizontal stacking methods.
- Hanging organizers and cubbies add vertical storage without shelf installation but require sturdy hooks rated for 30+ pounds and don’t reduce hanging rod space in larger walk-in closets.
- Maximize shelf organizer effectiveness by assigning zones by frequency (daily items at eye level, seasonal items high or low), labeling everything, and maintaining the system weekly.
- Install mounted shelf organizers into wall studs for heavy loads, use magnetic stud finders to locate framing, and add support brackets for existing sagging shelves before loading new organizers.
Why Closet Shelf Organizers Are Essential for Modern Homes
Most closets come with a single rod and one flat shelf, a design that hasn’t evolved since the 1970s. That setup fails because it treats all belongings the same: a stack of t-shirts collapses into a folded disaster, while handbags slouch into each other.
Closet shelf organizers add vertical dividers, cubbies, and compartments that prevent this collapse. They work with gravity instead of against it. A wire shelf divider keeps stacks upright. A hanging cubby system drops from your existing rod, adding six shelves without driving a single screw.
Beyond tidiness, organizers address safety. Overloaded shelves sag over time, especially particleboard shelving found in builder-grade closets. Adding organizers distributes weight more evenly and prevents the center-shelf droop that happens when 40 pounds of denim sits in one spot. If your shelf already shows sag, reinforce it with a center bracket screwed into the back wall studs (locate studs with a magnetic stud finder) before loading it with organizers.
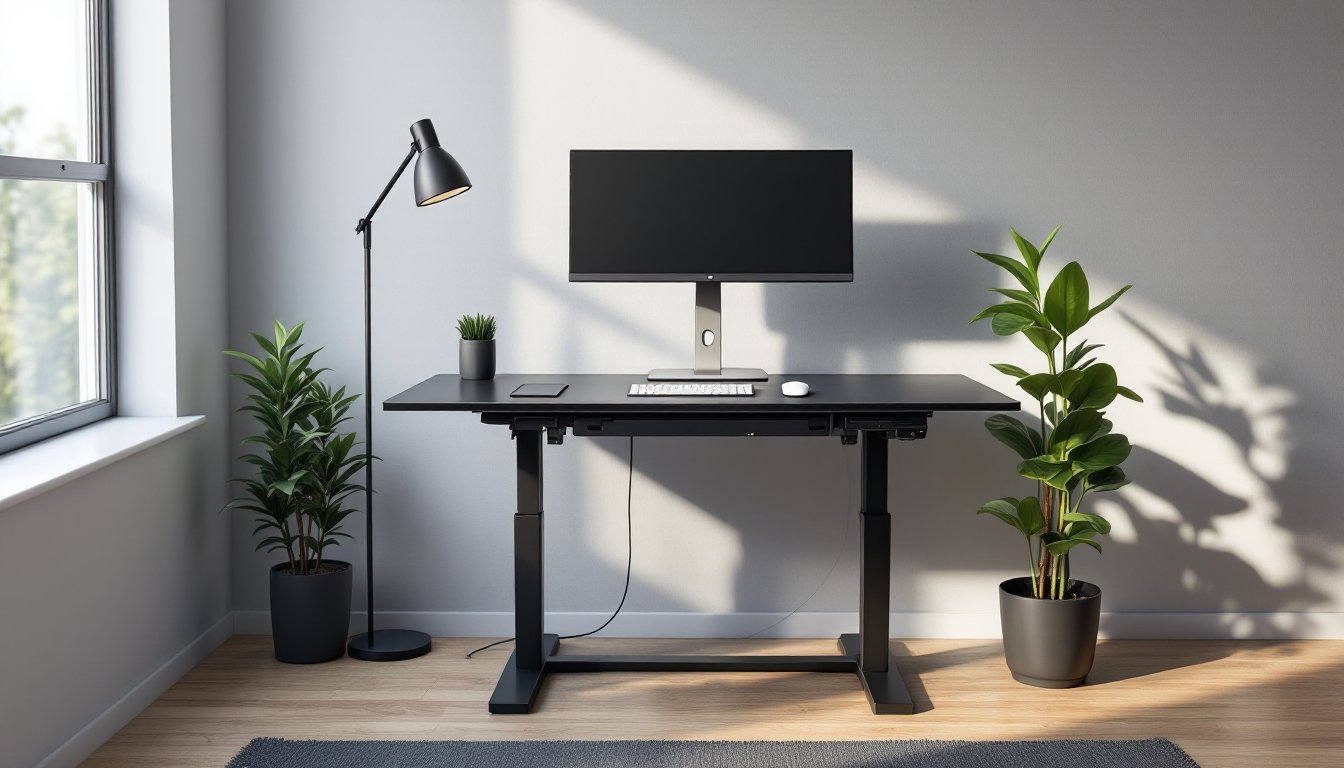
For home office closet organization, these systems are critical. Printer paper, binders, and supplies need contained zones, not jumbled piles. A home office closet organizer setup keeps business materials separate from household clutter, which matters when you’re pulling client files at 8 a.m.
Types of Closet Shelf Organizers to Consider
Choosing the right organizer depends on what you’re storing and how much vertical clearance you have between shelves. Not all systems fit all closets.
Stackable Shelf Dividers and Separators
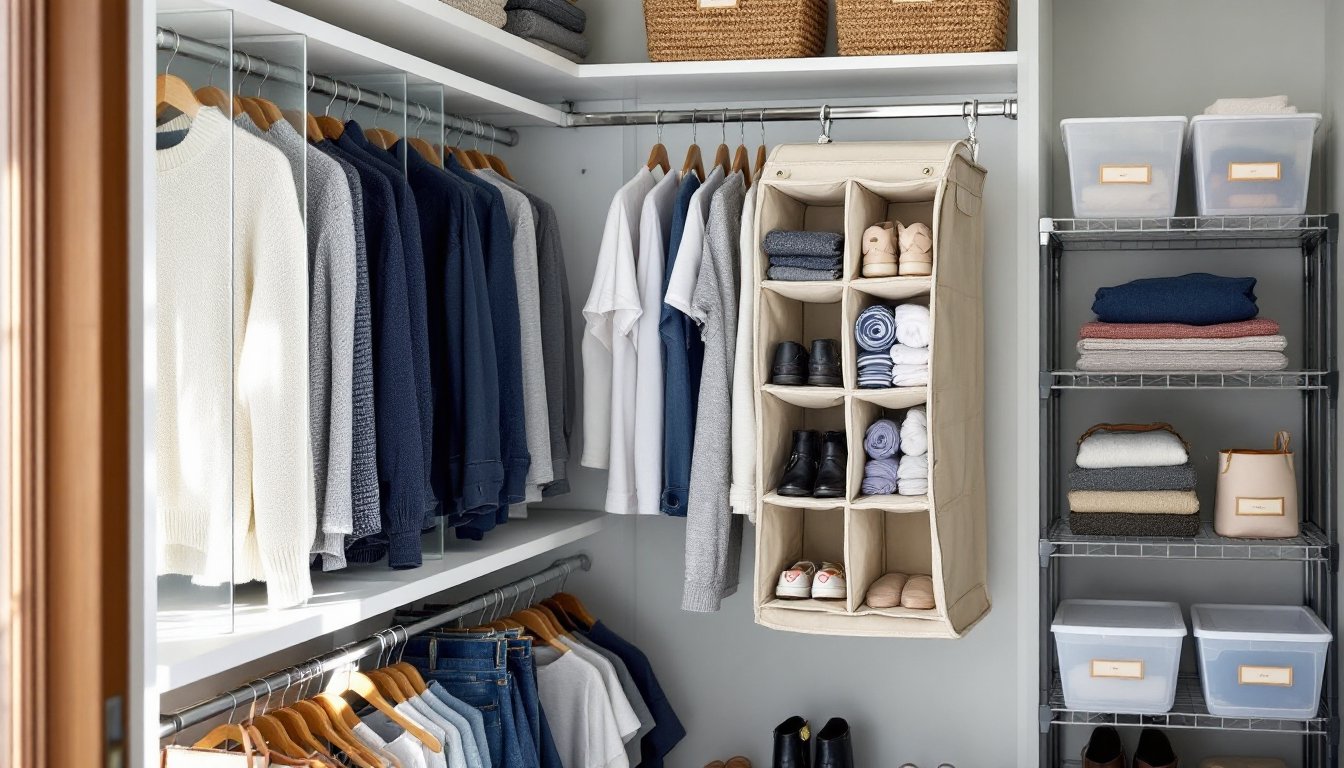
Shelf dividers are the simplest fix for preventing stack avalanches. They come in two formats: wire and solid.
Wire shelf dividers slide over wire shelving or clip onto wooden shelves with tension brackets. They’re adjustable and cheap closet organizers, most cost $8 to $15 per pair. Wire works best for breathable items like linens, towels, and knitwear. The downside: small items (like scarves or tank tops) can slip through the grid.
Solid acrylic or wood dividers sit on flat shelves and create true compartments. They’re better for accessories, shoes, and handbags. Acrylic dividers are transparent, which helps you see what’s behind them without pulling everything forward. Wood dividers look cleaner but add visual weight.
Height matters. Measure the vertical space between your shelf and the shelf above (or the ceiling). Standard dividers run 10 to 14 inches tall. If you have less than 12 inches of clearance, look for low-profile versions or skip dividers in favor of bins.
Shelf separators differ slightly, they’re typically flat panels that slide under items to create layers within a single shelf. Think of them as mini platforms. Open shelf approaches use similar principles but without enclosures.
Hanging Shelf Organizers and Cubbies
When floor and shelf space run out, hanging organizers add vertical storage by dropping from the closet rod. These fabric or canvas units come with 4, 6, or 9 cubby compartments and hang via reinforced straps with metal hooks.
Hanging cubbies excel at storing shoes, folded jeans, sweaters, and accessories. They keep these items visible and accessible without requiring shelf installation. Most units measure 12 inches wide and 12 inches deep per cubby, confirm your closet rod depth can accommodate this. Standard reach-in closets have 24-inch depth: hanging organizers work fine. Shallow closets (18 inches or less) will crowd.
Strength is critical. Check the hook hardware. Cheap organizers use plastic clips that crack under 20 pounds of load. Quality versions use steel S-hooks or reinforced carabiner-style clips rated for 30+ pounds.
One caution: hanging organizers steal hanging space. A 6-cubby unit occupies roughly 48 inches of rod length. If you’re already tight on hanging room, you’re trading one storage type for another. Organizing like pros do means balancing hanging versus folded storage based on your wardrobe mix.
How to Choose the Right Organizer for Your Closet
Start with measurements, not shopping. Walk into your closet with a 25-foot tape measure and notepad.
Measure these dimensions:
- Shelf width, depth, and thickness
- Vertical clearance between shelves
- Closet rod height and diameter (standard is 1-5/16 inches)
- Distance from rod to back wall
Shelf depth determines which organizers fit. Most wire systems assume a 12-inch-deep shelf. If your builder installed 16-inch shelves, you’ll have a 4-inch gap behind standard organizers, that’s wasted space or a dust trap.
Material choice depends on load and aesthetics:
- Wire: Lightweight, breathable, cheap closet organizers. Best for closets with humidity issues (basement storage, laundry areas). Wire doesn’t trap moisture.
- Fabric/canvas: Soft-sided hanging organizers. Good for lightweight clothing and accessories. They compress when empty, saving space, but sag when overloaded.
- Plastic: Durable and easy to clean. Ideal for kids’ closets or garage storage where spills happen. UV exposure in sunny closets can make plastic brittle over time.
- Wood or acrylic: Premium look, sturdy, and stackable. Heavier and pricier. Best for visible closets or office closet organizer setups where appearance matters.
Consider installation type. No-drill organizers (tension, clip-on, or hanging styles) work for renters or anyone avoiding permanent changes. Mounted organizers (screwed into studs) handle heavier loads and won’t shift when you grab items in a hurry. If you’re organizing a home office closet with heavy binders and equipment, mount organizers properly.
Check weight ratings. Manufacturer specs list load capacity, often 10 to 30 pounds per shelf or cubby. Exceeding this bends wire, cracks plastic, or pulls hooks loose. Weigh a typical stack of jeans (about 12 pounds for four pairs) to reality-check your needs.
DIY Installation Tips for Closet Shelf Organizers
Most closet organizers install without power tools, but doing it right prevents frustration and re-work.
Prep work comes first. Empty the closet completely. Yes, completely, you can’t measure accurately or install securely with stuff in the way. Vacuum the shelves. Wipe them down. You’ll spot any existing damage (cracks, screw holes, sagging) that needs fixing before you load new organizers.
If you’re adding mounted shelf dividers or brackets, locate studs. Closet walls are typically framed with 2×4 studs on 16-inch centers. A magnetic stud finder costs $8 and won’t punch holes like a probe-style finder. Mark stud locations with painter’s tape.
For wire shelf systems: Most modern wire shelving uses a track-and-bracket system. The track screws into studs: brackets clip into the track. Use a 4-foot level to ensure the track runs perfectly horizontal, even 1/4 inch of slope causes items to drift forward over time. Drill pilot holes with a 1/8-inch bit to prevent drywall crumbling, then drive 2-inch coarse-thread drywall screws into studs.
For clip-on dividers: These tension-mount onto existing shelves. Slide them into position and tighten the adjustment screw until snug. Don’t overtighten, you’ll crack the bracket or dent the shelf. Test by pulling gently. It should resist but not budge.
For hanging organizers: Hook them onto the closet rod and use a level to check plumb. Some units twist when loaded unevenly. If yours does, redistribute weight or add a tension rod behind the organizer to keep it stable. Similar storage solutions apply when managing workshop gear.
Safety note: Wear safety glasses when drilling overhead. Drywall dust and metal shavings fall directly into your eyes. A dust mask helps if you’re sensitive to particulate.
Double-check clearances before finalizing placement. A shelf divider that seemed perfect on the floor might block a light switch or interfere with closet doors. Open and close doors fully to confirm nothing catches.
Organizing Strategies to Maximize Shelf Space
Installing organizers is half the job. How you load them determines whether they actually save space or just look organized while still being a mess.
Use the vertical rule: Stack similar items vertically, not horizontally. Instead of laying sweaters flat in a wide pile (where the bottom sweater becomes inaccessible), fold them and file them vertically like books. You’ll see every sweater at a glance and can pull one without toppling the stack. This trick alone reclaims 30% more usable space in most closets.
Assign zones by frequency. Items used daily go at eye level (48 to 60 inches high). Seasonal or occasional items go high or low. Don’t waste prime real estate on Halloween costumes in April.
Label everything. Even if you live alone. Memory fails, and labeled bins speed up retrieval. Use a label maker or adhesive chalkboard labels. For creative storage inspiration, labeling transforms guesswork into a system.
Maximize depth with pull-out bins. Deep shelves hide items in the back. Bins with handles or wheels let you pull the entire container forward. This works especially well for office closet organizer setups storing supplies, or for kids’ closets where toys migrate to the back and vanish.
Use shelf risers for short items. A riser (essentially a mini platform) doubles your storage by creating two layers. Place short items like clutches or folded scarves on the riser: taller items like boots go underneath. Metal risers handle more weight than plastic.
Rotate seasonally. Every three months, swap out-of-season items to higher or less accessible shelves. Winter coats don’t need eye-level access in July. IKEA hacks for closets often feature modular setups that make seasonal rotations easier.
Control the intake. The best organizing strategy is ruthless editing. If you haven’t worn it in a year and it’s not sentimental, donate it. No organizer for closet storage fixes the problem of owning too much stuff. Purge first, organize second.
Maintain weekly. Spend five minutes each weekend resetting your closet. Return items to their zones, refold collapsed stacks, and remove anything that doesn’t belong (coffee mugs, mail, tools). Organizers work only if you use them consistently.
For home office closet organization specifically, separate active projects from archived materials. Active files and supplies stay in easy-reach hanging organizers or front-shelf bins. Archived documents and reference materials go high or deep. This prevents the “everything is urgent” trap where you can’t find current work because it’s mixed with last year’s tax records.
Finally, use the back of the closet door. Over-door racks add storage for shoes, cleaning supplies, or accessories without touching existing shelf systems. They install with hooks, no tools required, and work especially well in shallow closets where every square inch counts.