A built-in refrigerator cabinet turns a bulky appliance into a seamless part of your kitchen design. Instead of a freestanding fridge jutting into the room, you create a flush, integrated look that feels custom and high-end. This isn’t just cosmetic, proper cabinet framing provides ventilation clearance, structural support, and finishing trim that matches your cabinetry. The project requires intermediate carpentry skills, basic electrical knowledge, and careful planning around appliance specs. Most homeowners can tackle this over a weekend if the fridge is already in place and walls are plumb, though moving gas lines or electrical outlets may require a licensed pro.
Table of Contents
ToggleKey Takeaways
- A built-in refrigerator cabinet creates a seamless, integrated look by framing the appliance to align flush with existing cabinetry, instantly elevating kitchen aesthetics.
- Proper ventilation clearances—typically 1 inch on each side and 2–3 inches above—are critical; ignoring manufacturer specs risks compressor damage and voided warranties.
- Building a built-in refrigerator cabinet is a weekend project for intermediate DIYers, requiring accurate measurements, pocket-hole joinery, and attention to plumb installation to avoid seasonal gaps and door-swing issues.
- The investment ranges from $800–$2,500 for custom enclosures, but the payoff includes reclaimed floor space, enhanced resale appeal, and a premium kitchen aesthetic that eliminates the appliance-store look.
- Material acclimation, proper fasteners (studs with 2½-inch screws, not drywall anchors), and mock-up testing prevent costly mistakes like ventilation blockage and unusable door clearance.
What Is a Built-In Refrigerator Cabinet?
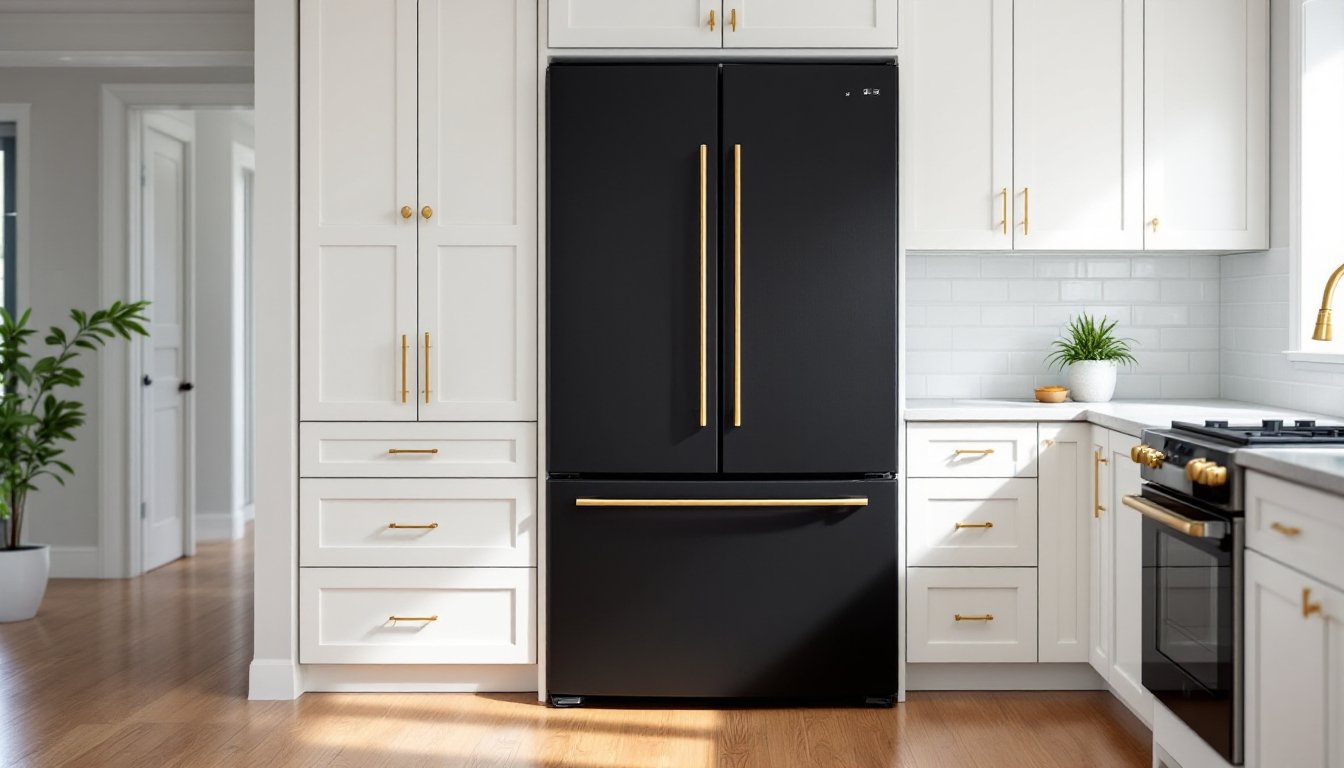
A built-in refrigerator cabinet is a framed enclosure that surrounds the appliance, creating a flush or nearly flush appearance with adjacent cabinetry. Unlike freestanding models that sit proud of counters and cabinets, built-in units (or standard fridges retrofitted into custom enclosures) are designed to align with 24-inch-deep base cabinets, giving kitchens a streamlined profile.
The cabinet itself isn’t load-bearing, it’s a face frame or box made from ¾-inch plywood or MDF, often finished with the same door style and stain as the rest of the kitchen. The key is leaving manufacturer-specified clearances: most refrigerators need 1 inch on each side for airflow and 2–3 inches above for heat dissipation. Ignore these specs and you’ll shorten compressor life or trip thermal shutoffs.
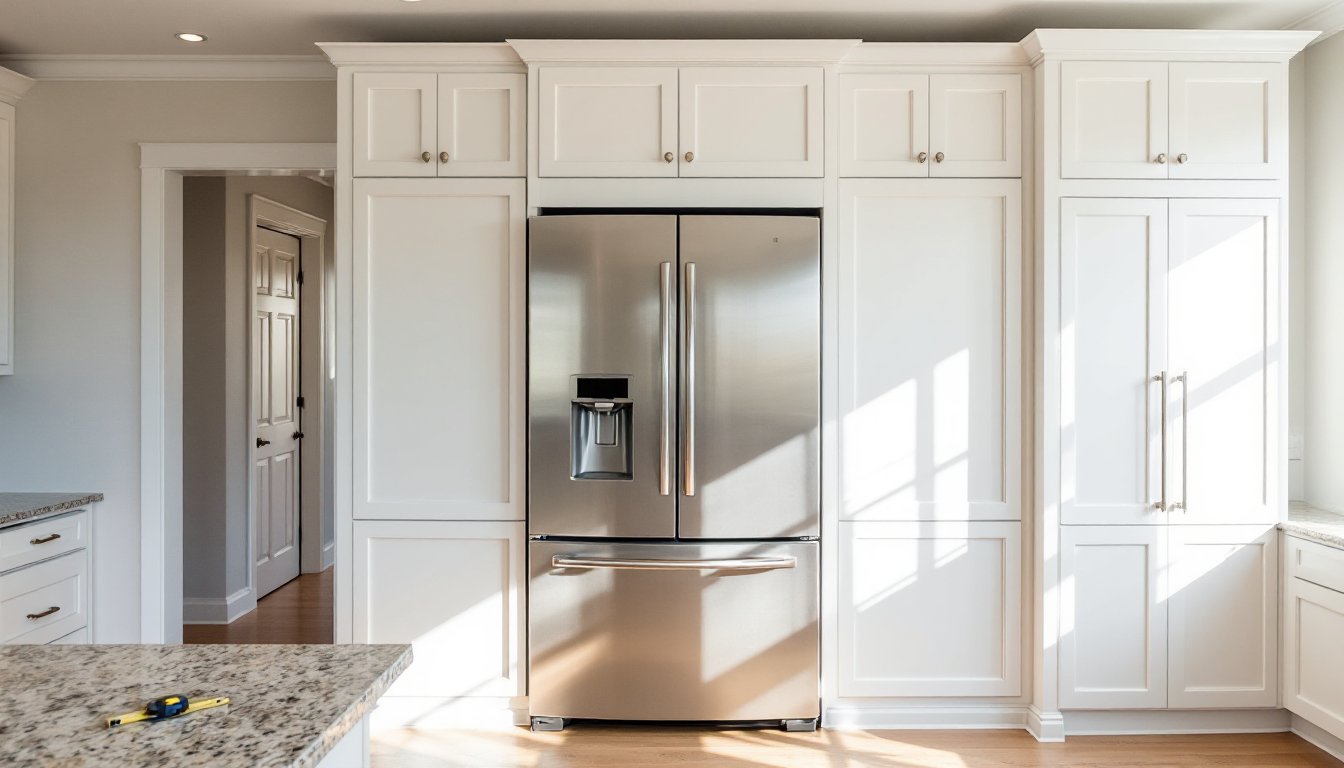
True built-in refrigerators from brands like Sub-Zero or Thermador come with trim kits and mounting flanges. Standard fridges require custom carpentry to build the surround, add a face frame, and sometimes install a decorative panel that matches cabinet doors. The result hides the appliance’s sides and top, leaving only the door face visible.
Benefits of Installing a Built-In Refrigerator Cabinet
Visual cohesion is the main draw. A built-in cabinet eliminates the appliance-store look and makes the fridge disappear into the cabinetry. This matters most in open-concept layouts where the kitchen is visible from living spaces.
Reclaimed floor space is another win. Standard fridges are 30–36 inches deep, while base cabinets sit at 24 inches. A built-in or counter-depth fridge paired with a flush cabinet reduces protrusion by up to 6 inches, opening up walkways and improving flow in galley or U-shaped kitchens.
You also gain resale appeal. Buyers perceive built-ins as premium upgrades, especially when cabinetry is custom-grade. That said, the investment isn’t trivial, materials and labor for a full enclosure run $800–$2,500 depending on finish and complexity. True built-in appliances with flush installation can push the total to $10,000+ when you factor in the unit itself.
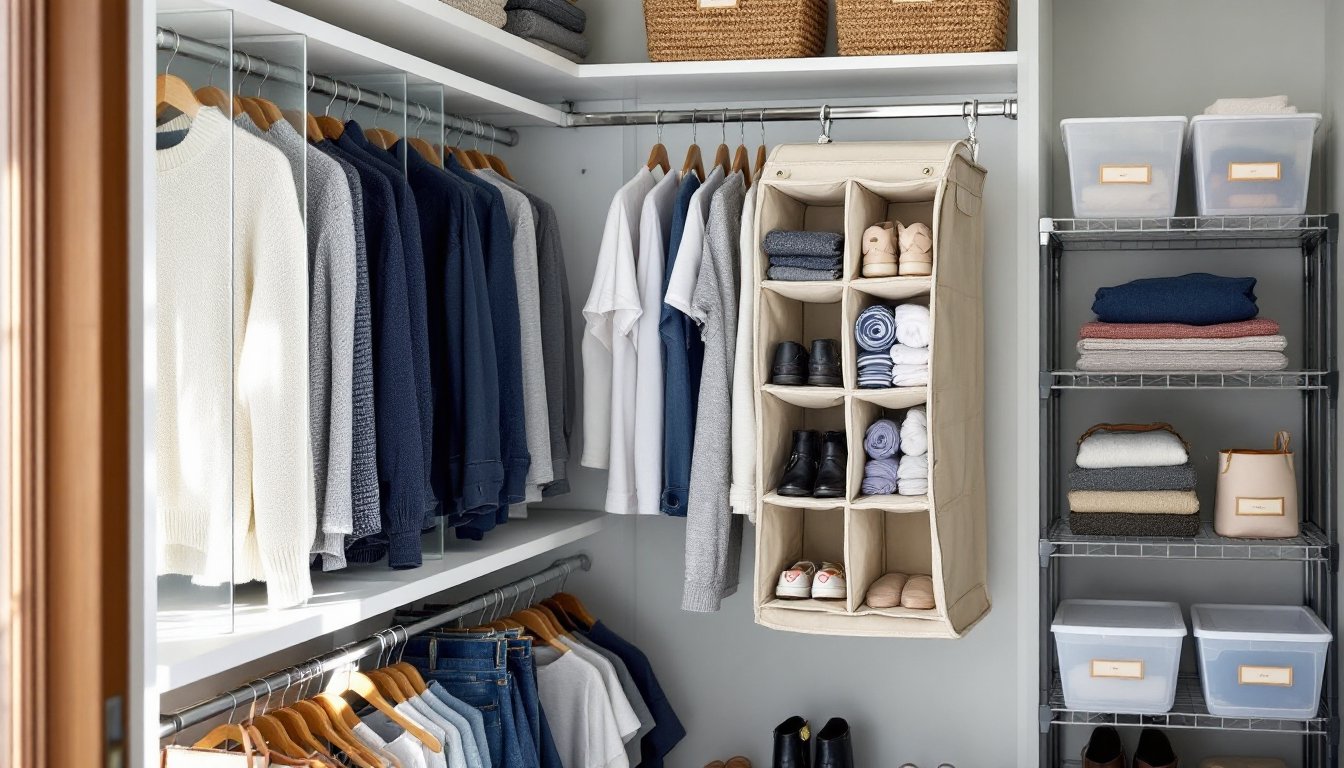
Finally, a well-built cabinet simplifies kitchen organization systems by providing mounting surfaces for side panels, top trim, or even pull-out pantry racks flanking the fridge.
Planning Your Built-In Refrigerator Cabinet Project
Start by pulling the appliance’s installation manual. Manufacturers list minimum clearances for sides, top, rear, and door swing. For example, a 36-inch-wide fridge typically needs a 38-inch rough opening (36 + 1 + 1) and 70 inches of height clearance for ventilation. Measure twice, nominal dimensions on the spec sheet don’t include handles or hinge swing.
Check whether your fridge vents from the top, bottom, or rear. Bottom-vent models (common on counter-depth units) pull air from the toe kick and exhaust at the top, so you can’t fully enclose the top without risking overheating. Rear-vent models need at least 1 inch behind the unit and unobstructed airflow at the top.
Evaluate your existing cabinetry. If the fridge sits between two tall pantry cabinets, you may only need a face frame and crown molding to tie it in. If it’s in an open corner, you’ll build a full three-sided enclosure with side panels and a top soffit.
Electrical and plumbing come next. Most fridges run on a standard 120V/15A circuit. If yours has an ice maker, you’ll need a ¼-inch copper or braided stainless water line. Moving either requires cutting drywall and potentially hiring an electrician or plumber, not a permit-level job in most jurisdictions, but worth the cost if you’re not comfortable with code.
Measuring and Design Considerations
Use a laser measure or tape to record the fridge’s width, depth, and height with doors closed, then add ½ inch per side and 1–2 inches top as a buffer. Translate that into a rough opening on paper, then sketch the face frame, side panels, and top boxing.
Decide on panel material. ¾-inch birch plywood is stable and takes paint well: MDF is cheaper but heavier and less forgiving if it gets wet. For a stained finish, match the cabinet-grade hardwood (maple, oak, cherry) to existing doors.
Consider door clearance. A French-door fridge needs 90-degree+ swing on each side. If one side butts against a wall, verify the door opens fully before boxing it in. Measure handle depth, too, some handles project 3–4 inches and may interfere with adjacent cabinets.
Finally, plan for leveling. Floors are rarely flat. Budget for shims and adjustable legs, and double-check that the fridge is plumb before locking the cabinet frame in place.
Step-by-Step Guide to Building a Refrigerator Cabinet
Tools and Materials:
- Circular saw or table saw for ripping plywood
- Miter saw for cross-cuts and trim
- Drill/driver with #8 countersink bit
- Pocket-hole jig (Kreg or similar) for face frame joinery
- Brad nailer (18-gauge) for trim
- Level (24-inch and 6-foot)
- Clamps, measuring tape, pencil
- ¾-inch plywood or MDF for panels
- 1×2 or 1×3 solid wood for face frame (actual ¾ x 1½ or ¾ x 2½)
- Wood glue, 1¼-inch pocket screws, finish nails
- Shims, construction adhesive
- Primer and paint or stain to match cabinets
- Crown molding or trim (optional)
Safety: Wear safety glasses when cutting, hearing protection with power saws, and a dust mask when sanding MDF.
Step 1: Remove and Prep
Pull the refrigerator away from the wall. Disconnect power and water lines. Clean the area and patch any wall damage. Measure the rough opening one last time.
Step 2: Build Side Panels
Rip ¾-inch plywood to the depth and height needed. If the fridge is 70 inches tall and you want the cabinet flush with the top, cut panels to 71 inches (accounting for ½-inch clearance and ½-inch overlay). Sand edges smooth and prime all sides, MDF soaks moisture, so seal it even if it’s hidden.
Step 3: Assemble the Face Frame
Cut 1×2 or 1×3 rails and stiles to match the rough opening’s perimeter. Use a pocket-hole jig to join corners with 1¼-inch screws and wood glue. The face frame overlays the cabinet box by ¼–½ inch on each side for a traditional look. According to methods outlined by Fine Homebuilding, tight joinery here prevents gaps as wood moves seasonally.
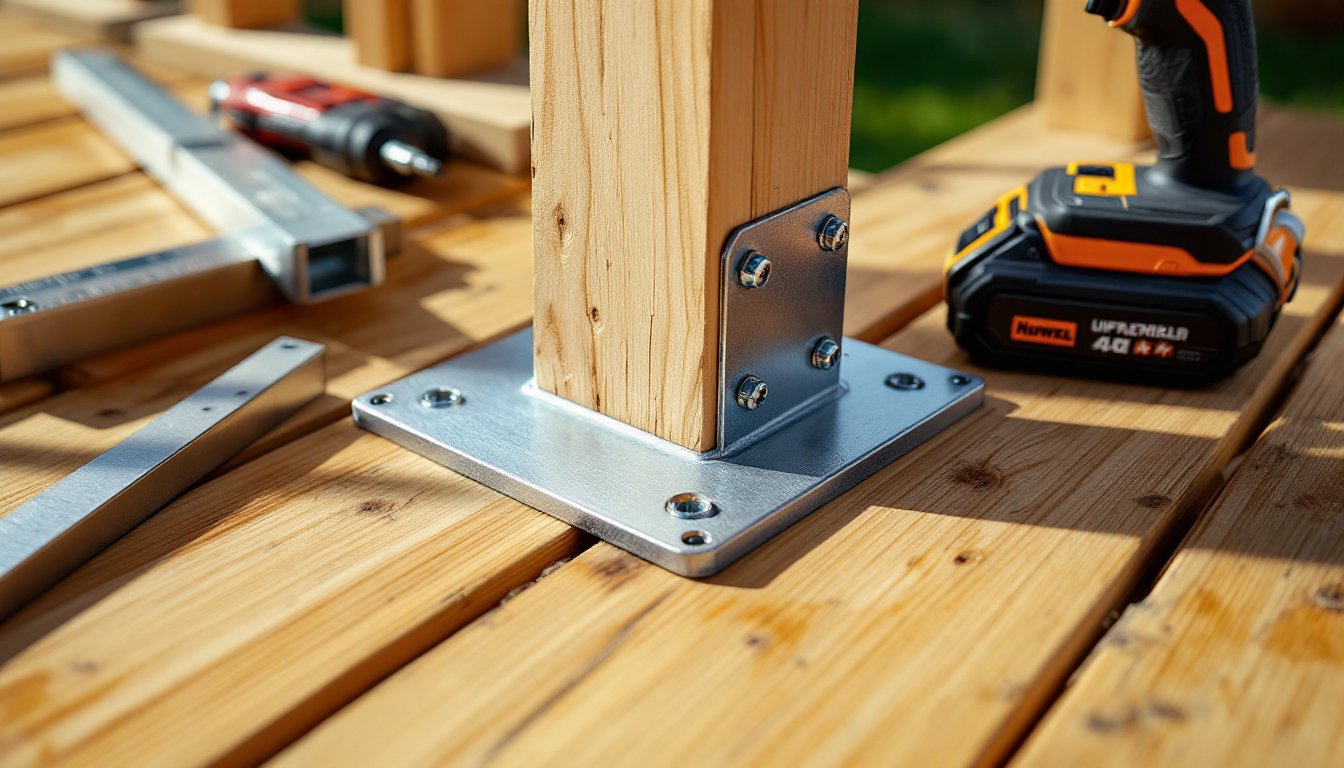
Step 4: Attach Side Panels to Wall Studs
Locate studs with a finder, then secure each panel with 2½-inch screws through the plywood into framing. Use shims behind the panel if the wall bows. Check plumb with a level before driving screws home. If the fridge sits between existing cabinets, you may skip standalone side panels and just scribe trim to close gaps.
Step 5: Install Top Boxing (If Needed)
If the fridge doesn’t reach the ceiling, build a soffit box from plywood and 2×2 framing. Leave the back open for ventilation unless the manual allows a closed top. Secure the box to wall studs and side panels with screws and adhesive. This step is common in kitchens with 8- or 9-foot ceilings.
Step 6: Attach the Face Frame
Apply construction adhesive to the front edges of side panels and top boxing, then press the face frame into place. Secure with 1¼-inch brad nails every 8 inches. Use clamps to hold alignment while the adhesive sets. Wipe away squeeze-out immediately.
Step 7: Finish and Paint
Fill nail holes with wood filler, sand to 220 grit, and apply primer. Two coats of semi-gloss paint match most factory cabinets. If staining, use pre-stain conditioner on softwoods to prevent blotching, then apply stain and polyurethane per the can’s instructions.
Step 8: Reinstall the Refrigerator
Slide the fridge back into the enclosure, adjusting feet so it’s level front-to-back and side-to-side. Reconnect power and water. Check door swing and verify 1-inch side clearances with a tape measure. If you’re tight, trim the face frame or side panels, don’t compress the fridge into a space that restricts airflow.
Step 9: Add Trim and Crown (Optional)
Install ¼-inch scribe molding along gaps between the fridge and cabinet frame. Top the enclosure with crown molding that matches the rest of the kitchen, mitering corners at 45 degrees with a miter saw. Nail into the soffit box or wall studs, not the fridge itself.
Common Mistakes to Avoid When Installing Built-In Refrigerator Cabinets
Ignoring ventilation clearances is the most expensive mistake. Cramming a fridge into an enclosure without side or top gaps forces the compressor to work overtime, voiding warranties and cutting lifespan in half. Check out the manufacturer’s specs and reviews of high-quality built-in units to see real-world clearance requirements.
Failing to level the appliance causes doors to swing open or closed on their own, and internal components rely on plumb orientation for drainage. Spend the extra five minutes with shims and a 6-foot level, it prevents callbacks and adjustments later.
Skipping material acclimation leads to seasonal gaps. Store plywood in the kitchen for 48 hours before cutting to let it adjust to humidity. MDF is especially prone to expansion if it gets damp, so prime all edges before assembly.
Using the wrong fasteners is another pitfall. Drywall anchors won’t hold a heavy side panel: hit studs with 2½-inch screws. Brad nails alone won’t secure a face frame under stress, add construction adhesive for a bond that lasts decades. Tips from This Old House emphasize choosing mechanical fasteners that match the load.
Over-tightening pocket screws can split hardwood rails. Drive screws snug, then back off a quarter turn. And don’t skip sanding between primer coats, factory cabinets have a glass-smooth finish, and a DIY enclosure with visible brush strokes will stand out.
Finally, neglecting door swing traps homeowners with a fridge they can’t fully open. Mock up the enclosure with cardboard before committing to cuts, and test the door arc with the actual appliance in place.
Conclusion
A built-in refrigerator cabinet bridges the gap between off-the-shelf appliances and custom cabinetry, delivering a cohesive look without the cost of a true built-in unit. The project demands accurate measuring, respect for ventilation specs, and solid carpentry fundamentals, pocket-hole joinery, plumb installation, and a quality finish. Get those right, and the result transforms a functional appliance into an integrated design element that elevates the entire kitchen.