Hard water leaves scale on faucets, spots on dishes, and shortens the life of appliances. A Culligan water softener can solve these problems, but only if it’s properly maintained. Without regular service, resin beds clog, valves stick, and salt bridges form, leaving homeowners with hard water problems all over again. Whether it’s a rented unit or one the homeowner purchased outright, understanding service schedules, DIY maintenance tasks, and when to call in a pro can save money and keep soft water flowing. This guide walks through everything needed to maintain and troubleshoot a Culligan system in 2026.
Table of Contents
ToggleKey Takeaways
- Annual professional Culligan water softener service is essential to prevent scale buildup, clogged resin beds, and salt bridges that reduce system efficiency.
- Homeowners can extend service intervals between professional visits by performing monthly salt checks, annual brine tank cleaning, and resin bed sanitization.
- Culligan water softener service costs range from $100–$250 for routine maintenance on owned units, while rental agreements typically include service for $30–$60 monthly.
- Common issues like hard water after softening, low pressure, or salty-tasting water can often be diagnosed by testing salt levels, inspecting the bypass valve, and checking the drain line for clogs.
- Replacing a Culligan water softener is typically more cost-effective than repairing units older than 15 years with recurring problems, as modern high-efficiency systems pay for themselves in 5–7 years.
- High water hardness above 15 grains per gallon or iron content exceeding 0.3 ppm accelerates resin fouling and may require semi-annual professional service instead of annual visits.
Understanding Culligan Water Softener Service Requirements
Culligan systems vary from basic single-tank models to more complex twin-tank or demand-initiated regeneration (DIR) units. Each type has different service intervals, but a few constants apply across the board.
Annual professional service is the baseline recommendation for most residential softeners. This includes valve inspection, resin bed evaluation, brine tank cleaning, and system diagnostics. For households with high water usage (four or more people, or usage exceeding 300 gallons per day), semi-annual service may be necessary.
Owned vs. rented units differ in service responsibility. Rented Culligan systems typically include scheduled maintenance as part of the monthly fee, with technicians arriving automatically or after a service call. Owned systems require the homeowner to either schedule service directly with Culligan or hire an independent water treatment technician. Many owners skip this step until problems arise, which often results in costlier repairs.
Service also depends on water hardness and iron content. Water over 15 grains per gallon (gpg) or with iron above 0.3 parts per million (ppm) accelerates resin fouling. In these conditions, more frequent resin cleaning with products like Iron Out or citric acid may be needed between professional visits.
Building codes don’t typically mandate water softener maintenance, but homeowners should check local plumbing codes for backflow prevention requirements. Some jurisdictions require air gaps or backflow preventers on the drain line to prevent contamination of potable water.
How to Schedule Professional Culligan Service
For rented units, contact the local Culligan dealer through the number on the monthly invoice or the sticker on the unit itself. Many dealerships now offer online scheduling portals. Response time varies by region but typically ranges from 48 hours to a week for non-emergency service.
Owned units can be serviced through Culligan’s dealer network or independent water treatment companies. To schedule with Culligan, visit their national website and use the dealer locator, or call the original installer. Be ready with the model number (found on the control head or brine tank label) and a description of any problems.
Independent technicians often charge less than authorized Culligan service but may not stock proprietary parts. Companies familiar with home service providers can help compare local options. If the softener is still under warranty, confirm whether third-party service voids coverage.
What to expect during a service visit:
- Control valve testing: Technician checks for proper cycling, flow rates, and regeneration timing.
- Resin bed inspection: Includes checking for channeling, fouling, or degradation.
- Brine tank cleaning: Removal of salt mush, sediment, and any salt bridges.
- Sanitization: Optional resin bed sanitization with bleach solution or hydrogen peroxide.
- Water testing: Pre- and post-softening hardness tests to verify performance.
Service calls typically last 45 minutes to 90 minutes. Technicians should leave a written report with hardness readings, salt level, and any recommended repairs.
DIY Maintenance Tasks Every Homeowner Should Know
Homeowners can handle routine maintenance tasks between professional visits. These don’t require specialized tools and can prevent most common problems.
Checking and Refilling Salt Levels
Check salt monthly, even if the tank looks full. The rule of thumb: keep salt at least one-quarter full but no more than two-thirds full. Overfilling can cause bridging and reduce efficiency.
Use the right salt type for the system. Solar salt pellets are the most common and work well in most conditions. Evaporated salt pellets cost more but leave less residue, worth it for high-iron water. Avoid rock salt: it contains impurities that clog resin beds.
To refill:
- Open the brine tank lid and check the salt level against the water line.
- If salt has dropped below the water level or if a hollow cavity appears under the salt surface, add one to two 40-pound bags.
- Don’t break up large chunks unless they’re bridging (see below).
- Close the lid to keep out debris and humidity.
Salt bridges form when humidity causes salt to clump into a hard crust above the water, leaving an empty cavity below. To check, gently push a broom handle down into the salt. If it meets resistance but then breaks through to open space, there’s a bridge. Break it up carefully and scoop out loose salt.
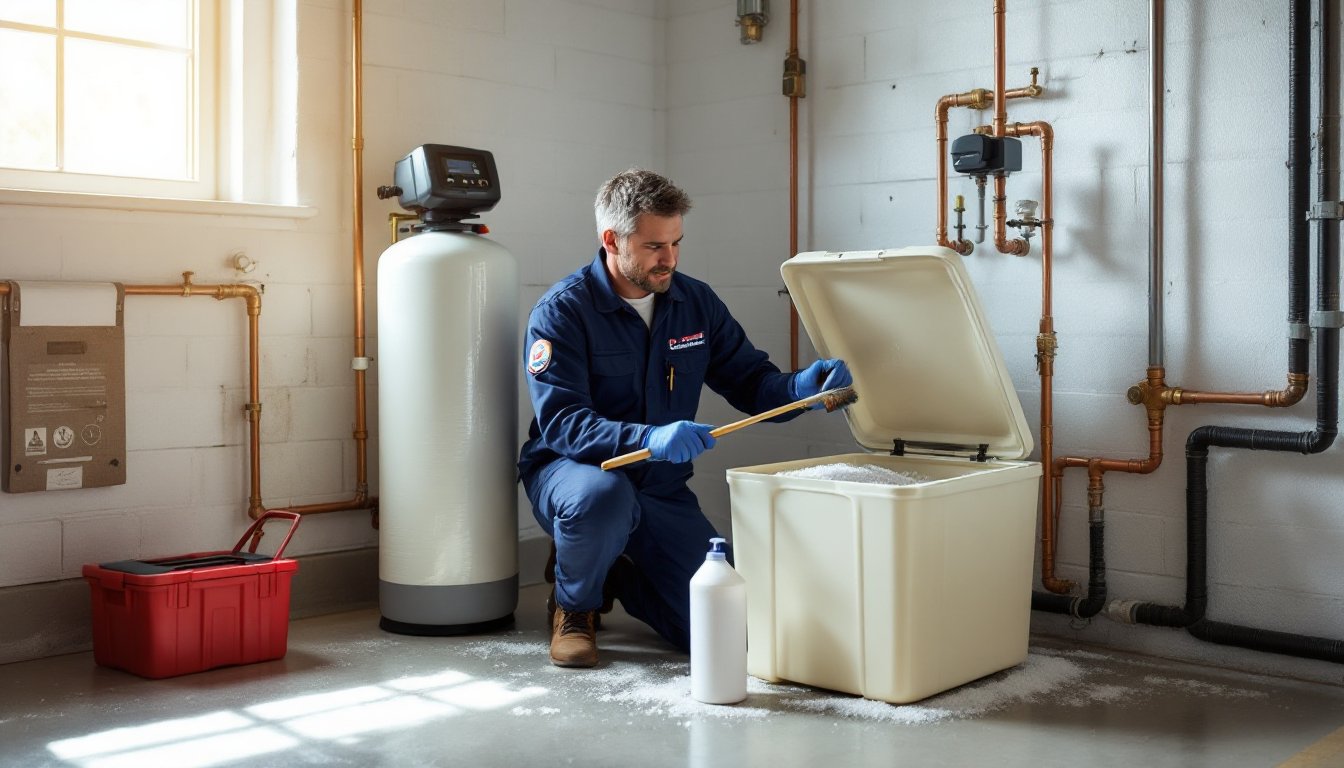
Cleaning the Brine Tank and Resin Bed
Clean the brine tank once a year, ideally in spring or fall. This task takes about an hour and requires no special skills.
Steps:
- Initiate a manual regeneration cycle to empty the brine tank (consult the manual for model-specific instructions, usually involves holding a button on the control head).
- Once the tank is empty, scoop out remaining salt and discard it.
- Remove the brine grid (the platform at the bottom) and rinse it with a hose.
- Scrub the tank interior with warm water and a stiff brush. For stubborn buildup, use a diluted bleach solution (1/4 cup bleach per gallon of water). Rinse thoroughly.
- Check the brine well and float assembly for salt crust or debris. Clean with a small brush.
- Reassemble, refill with fresh salt, and add three gallons of water to restart the brine-making process.
Resin bed cleaning (also called resin regeneration or sanitization) should be done annually if water has high iron or if the softener smells musty. Use a resin cleaner like Res-Up or Pro Products Rust Out, following label directions. Some homeowners use a DIY approach with citric acid or Iron Out powder mixed into the brine tank before a regeneration cycle.
For more detail on maintaining plumbing systems, seasonal maintenance guides offer checklists that pair well with softener upkeep.
Safety note: Wear rubber gloves and safety glasses when handling cleaning chemicals or working inside the brine tank.
Common Culligan Water Softener Problems and Solutions
Even well-maintained systems run into issues. Here’s how to diagnose and fix the most common ones.
Hard water after softening: First, test hardness with a kit (available at hardware stores or online for under $15). If hardness is above 1 gpg, the system isn’t regenerating properly. Check that salt is present and not bridged, the bypass valve is in the service position, and the regeneration timer is set correctly. If everything checks out, the resin bed may be exhausted and need replacement, this is a professional job.
Salt mushing: Occurs when dissolved salt recrystallizes into sludge at the bottom of the brine tank, preventing proper brine draw. Solution: empty and clean the tank as described above. Switch to higher-purity salt pellets to reduce recurrence.
Low water pressure: If pressure drops after softener installation or service, check the bypass valve first, it may be partially closed. Next, inspect the resin tank for channeling or fouling. Iron fouling feels like a layer of rust on the resin beads and requires chemical cleaning or resin replacement.
Constant running or cycling: Usually indicates a stuck valve or a malfunction in the control head. Turn the unit to bypass, then manually advance the valve through a full cycle. If it doesn’t complete or gets stuck, the valve seals or motor may need replacement. This requires a technician with the right parts.
Salty or metallic-tasting water: Check the drain line for clogs, backpressure can cause brine to siphon into the household water supply. Also verify that regeneration isn’t occurring during peak usage times. Adjust the timer or upgrade to a metered control head that regenerates based on actual usage, not a fixed schedule.
Leaking tank or valve: Small drips from the control head often come from worn o-rings, which a homeowner with basic tools can replace. Tank cracks or splits require professional assessment, fiberglass resin tanks can sometimes be repaired, but replacement is often more cost-effective.
For serious issues or anything involving electrical components or the main control valve, call a technician. Water softeners operate on standard 120V household current, so electrical troubleshooting should follow NEC guidelines and local codes.
Costs and Service Plans: What to Expect
Service costs vary widely by region, service type, and whether the unit is rented or owned.
Professional service call costs (owned units) typically range from $100 to $250 for routine annual maintenance. Emergency or after-hours calls can run $150 to $350. Repairs add to this base cost, common parts like control valves ($150–$400), resin bed replacement ($200–$500 for media and labor), and brine tank replacement ($100–$200) push total costs higher.
Rental agreements usually include service in the monthly fee, which averages $30 to $60 per month depending on system size and local dealer pricing. Over a decade, that’s $3,600 to $7,200, often more than the purchase price of a comparable owned unit. But, rentals include parts, labor, and salt delivery in some agreements, which can be worth it for homeowners who prefer hands-off maintenance.
Extended service plans for owned units cost around $150 to $300 per year and cover two service visits plus discounted parts and labor. These make sense for high-usage households or water with challenging chemistry. Compare plan pricing with project cost guides to ensure the coverage matches actual service needs.
DIY maintenance costs are minimal: salt ($5–$8 per 40-pound bag), resin cleaner ($10–$20 per treatment), and replacement o-rings or seals ($5–$15). A basic water hardness test kit costs $10 to $20 and lasts for dozens of tests.
When to replace vs. repair: If repair costs exceed 50% of a new unit’s price, or the system is over 15 years old with recurring problems, replacement is usually smarter. Modern Culligan and comparable systems with high-efficiency metered valves use less salt and water, often paying for themselves in five to seven years through operating cost savings.
Always get a written estimate before authorizing repairs over $200, and verify whether the repair restores warranty coverage if applicable.