A miter saw is only as good as what it’s sitting on. Whether you’re trimming crown molding or cutting rafters, a wobbly, undersized work surface turns precision cuts into guesswork. That’s where a dedicated miter saw stand comes in, and Bosch has built a reputation for producing some of the most reliable, job-site-proven stands on the market. This guide walks through everything needed to choose the right Bosch miter saw stand, set it up correctly, and keep it running for years.
Table of Contents
ToggleKey Takeaways
- A quality Bosch miter saw stand eliminates material sag and measurement drift, providing consistent height and stability for precision cuts on projects of any length.
- The Bosch T4B Gravity-Rise Stand offers pneumatic-assisted setup and 300-pound capacity for contractors, while the GTA500 and GTA10W provide lighter, more affordable options for occasional home use.
- Proper setup—including level deployment, secure saw mounting, and aligned support arms—takes five minutes and is essential for accurate, safe cuts and repeatable results.
- Regular maintenance of hinges, pneumatic cylinders, mounting hardware, and wheels keeps your Bosch miter saw stand performing reliably for years without costly repairs.
- A dedicated miter saw stand reduces kickback risk and workshop injuries by providing a stable platform that keeps hands further from the blade during operation.
Why a Quality Miter Saw Stand Matters for Your Workshop
Using a miter saw on sawhorses or a makeshift bench might work for a few cuts, but it creates serious problems on longer projects. Without proper support, material sags, measurements shift, and cuts drift off square. A quality stand eliminates these issues.
A dedicated stand provides consistent height across the entire cut length, keeping boards flat and stable from start to finish. This matters especially when working with 10- to 16-foot boards, the kind used for baseboards, fascia, or deck framing. When the workpiece doesn’t wobble, the blade tracks true.
Bosch stands are designed to integrate with their miter saws through proprietary mounting brackets, which means minimal setup time and rock-solid attachment. Many models include adjustable extensions that support long stock without a helper. For anyone doing more than occasional trim work, a good stand isn’t optional, it’s the difference between frustration and repeatable accuracy.
Safety also improves. A secure, stable platform reduces kickback risk and keeps hands further from the blade during cuts. According to safety data compiled by organizations like Popular Mechanics, unstable work surfaces contribute to a significant portion of workshop injuries.
Overview of Bosch Miter Saw Stand Models
Bosch offers several miter saw stand models, each suited to different work styles and portability needs. Understanding the lineup helps match the stand to the job.
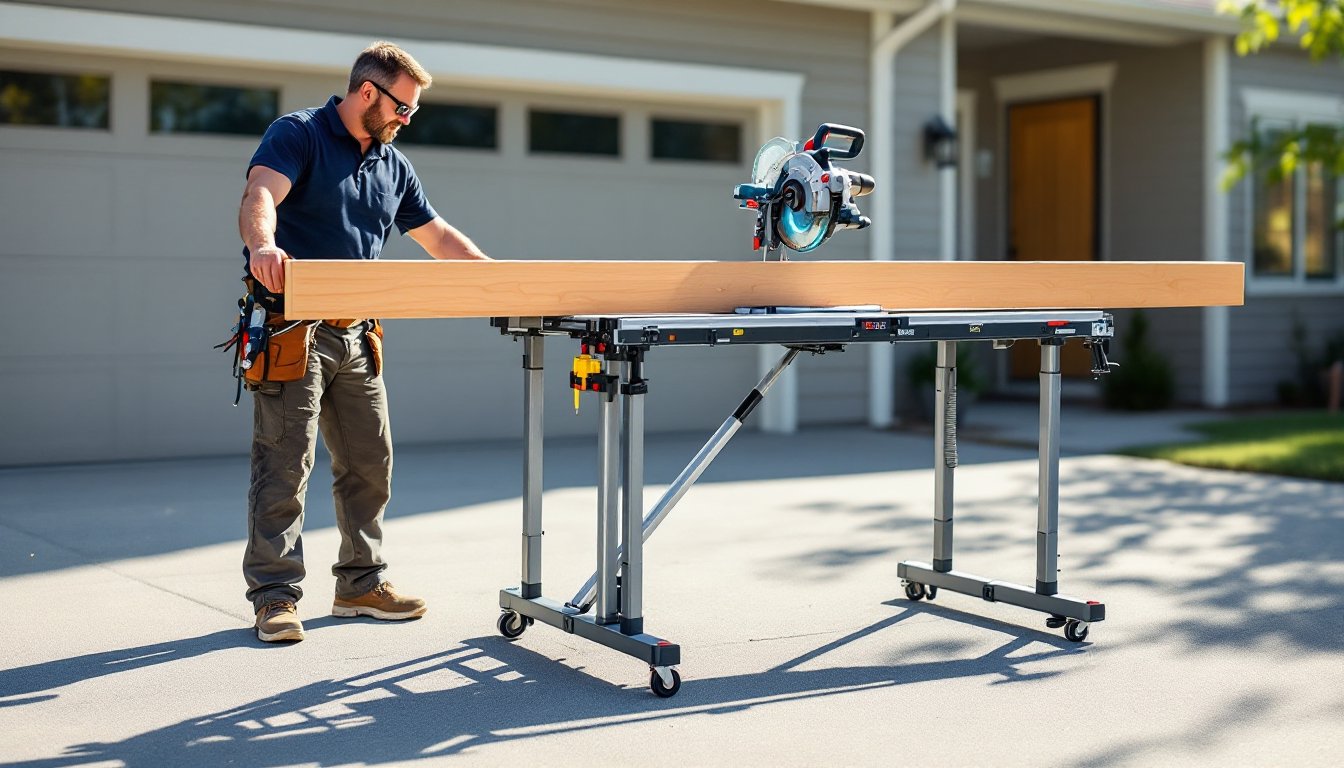
Bosch T4B Gravity-Rise Stand is the flagship model. It uses a spring-assisted folding mechanism that lets one person set up or collapse the stand in seconds. The pneumatic cylinders do most of the lifting, and the wheels make it easy to roll across a job site. Maximum weight capacity is 300 pounds, and the extendable arms support material up to 10 feet on each side. This stand works best for contractors and serious DIYers who need portability without sacrificing capacity.
Bosch GTA500 Folding Stand is a lighter, more compact option. It folds flat for storage and transport, but lacks the gravity-rise mechanism. Setup takes a bit more effort, but it’s still manageable for one person. Weight capacity is around 250 pounds, with similar extension capabilities. It’s a solid choice for weekend warriors and home shop use where the stand doesn’t move daily.
Bosch GTA10W Wheeled Stand combines moderate portability with a lower price point. It includes integrated wheels and a folding design, though it doesn’t offer the quick-deploy features of the T4B. It handles most 10- and 12-inch miter saws without issue.
All Bosch stands use quick-release mounting brackets compatible with Bosch miter saws and many other brands. Compatibility details are listed in the product specs, so double-check fitment before purchasing.
Key Features to Look for in a Bosch Miter Saw Stand
Not all stands are built the same. Certain features separate job-site workhorses from garage dust collectors. Here’s what matters most.
Portability and Storage Options
Portability comes down to three things: weight, folding mechanism, and wheels. The Bosch T4B weighs around 60 pounds with the saw mounted, which is manageable but not trivial. The gravity-rise design means it folds into a compact cart with built-in wheels, making it easy to move across uneven ground or up a driveway.
For tighter storage situations, the GTA500 folds nearly flat and can slide behind a workbench or hang on a wall bracket. It weighs about 30 pounds, so throwing it in a truck bed or SUV is straightforward.
Wheels make a difference. Look for pneumatic or solid rubber wheels at least 8 inches in diameter. Smaller wheels catch on gravel, cords, and job-site debris. Bosch equips most stands with durable wheels that handle rough surfaces without going flat.
If the stand stays in one shop most of the time, portability matters less. But if it moves between the garage, driveway, and job sites, invest in a model with wheels and a low-effort folding system.
Weight Capacity and Stability
Weight capacity isn’t just about the saw, it’s about the material being cut. A 12-inch sliding compound miter saw can weigh 50 to 70 pounds on its own. Add a 16-foot 2×12 (which weighs around 40 pounds), and the stand is supporting over 100 pounds dynamically during the cut.
Bosch rates most stands between 250 and 300 pounds, which covers the vast majority of residential and light commercial applications. But, capacity alone doesn’t guarantee stability. Look for stands with wide-set legs (at least 48 inches of width when deployed) and rubber or spiked feet that grip the ground.
The extension arms should lock securely at multiple positions. Bosch stands use spring-loaded pins that click into place, preventing accidental collapse mid-cut. The arms should also include adjustable material stops or ruler scales for repeatable cuts.
Stability improves with proper setup. Always deploy the stand on level ground. If working on a slope, shim the low side with plywood scraps until the saw bed is level. A bubble level on the saw table confirms it. For heavier cuts, like 6×6 posts or stacked crown, consider adding a roller stand or sawhorse at the far end for extra support, as recommended in many This Old House tutorials.
Setting Up and Using Your Bosch Miter Saw Stand
Setup takes less than five minutes once the process is familiar. Here’s the step-by-step.
-
Deploy the stand. For gravity-rise models, release the transport latch and let the stand unfold itself, keep hands clear of pinch points. For manual-fold stands, unlock the legs and extend them until they click.
-
Check for level. Place a torpedo level on the stand’s top rails. Adjust leg height or shim as needed. An unlevel stand causes binding and inaccurate cuts.
-
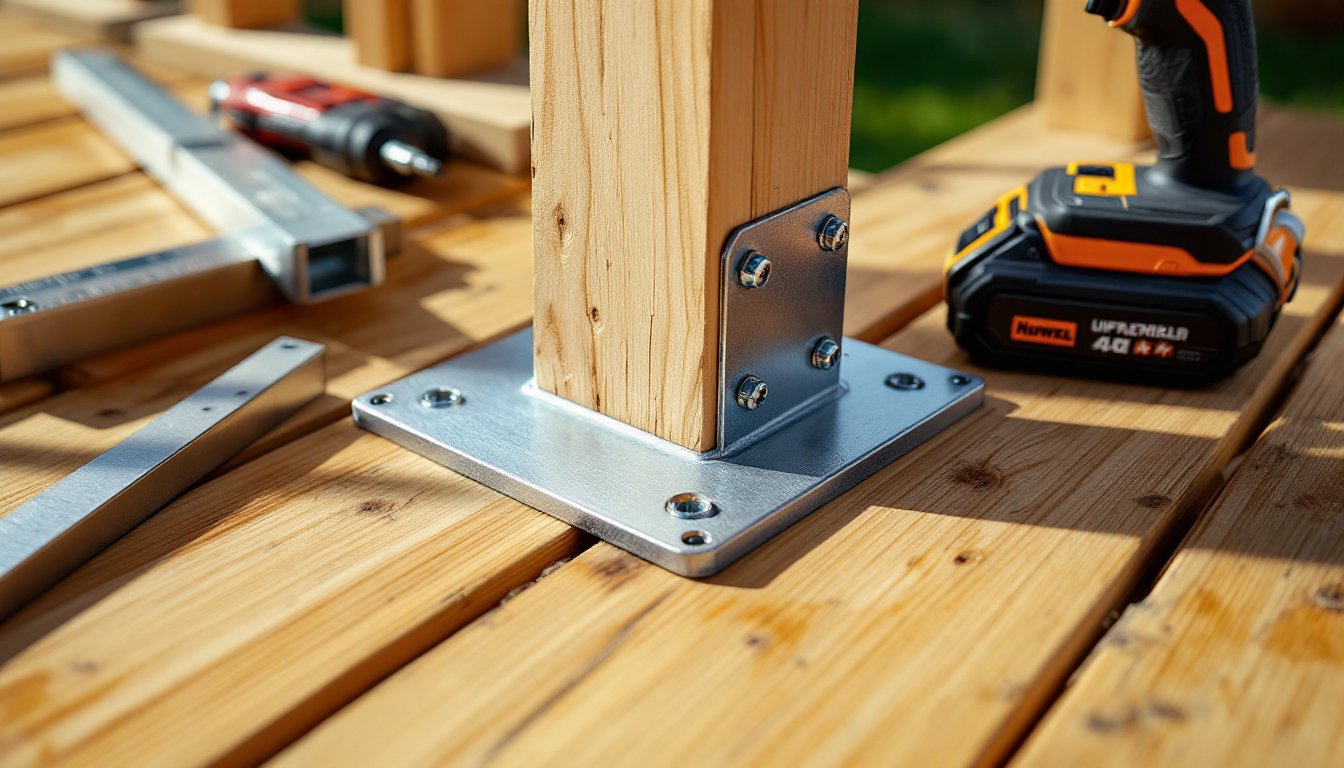
Mount the miter saw. Align the saw’s base with the mounting brackets. Most Bosch stands use four bolts or quick-clamps. Tighten evenly and verify the saw doesn’t rock. Some saws have pre-drilled mounting holes: others require drilling. Check the saw’s manual for hole locations.
-
Extend the support arms. Pull the arms out to the length of the workpiece, then lock them. Adjust the height so the support surface is flush with the saw table. Misalignment causes boards to tip during cuts.
-
Set the material stops. If cutting multiples, use the flip-down stops to mark the cut length. Measure from the blade to the stop, not from the fence. Account for the blade kerf (usually 1/8 inch).
-
Test with scrap. Before cutting finish material, run a test piece to confirm the setup. Check the cut for square using a speed square.
When cutting long stock, feed material slowly and keep hands at least 6 inches from the blade path. Wear safety glasses and hearing protection, miter saws generate over 100 decibels at full speed. For repetitive cuts, consider a stop block clamped to the fence rather than relying on pencil marks.
Maintenance Tips for Long-Lasting Performance
A miter saw stand doesn’t need much maintenance, but a little attention goes a long way.
Keep the folding mechanism clean. Sawdust and debris clog pivot points and springs. After every few uses, wipe down hinges and joints with a dry rag. For gravity-rise models, periodically spray the pneumatic cylinders with silicone lubricant, avoid petroleum-based products, which degrade seals.
Inspect mounting hardware. Vibration loosens bolts over time. Every month or so, check that mounting bolts, leg locks, and extension pins are tight. Replace any worn or bent hardware before it fails mid-cut. Bosch sells replacement parts directly or through authorized dealers.
Protect from moisture. Steel frames rust when exposed to humidity. If storing the stand in a garage or shed, keep it off concrete floors (which sweat) and cover it with a tarp or furniture blanket. For job-site use, wipe down the frame at the end of the day if it’s been exposed to rain or morning dew.
Check wheels and feet. Pneumatic wheels lose air slowly: top them off every few months with a tire pump. Rubber feet wear down on rough surfaces, replace them when they crack or lose grip. Some Bosch stands include replaceable spike feet for soft ground: swap them in when working on dirt or grass.
Store properly. When folding the stand, make sure all arms and legs are fully retracted and locked. Partial folds stress joints and springs. Store vertically if possible to save floor space and prevent warping. Many DIYers following guides from sites like Fix This Build That build simple wall-mounted brackets to keep stands organized.
By following these steps, a Bosch miter saw stand will deliver reliable service for years, whether it’s in a home shop or on a busy job site.