The Honeywell Home Smart Color Thermostat has carved out a solid reputation among DIYers who want climate control that actually saves money without requiring a computer science degree to operate. Unlike some smart home gadgets that promise the moon and deliver a headache, this thermostat strikes a practical balance between advanced features and real-world usability. Whether you’re tired of programming a decades-old analog dial or looking to trim your monthly utility bills, the Honeywell smart color thermostat delivers straightforward automation that works with most HVAC systems right out of the box.
Table of Contents
ToggleKey Takeaways
- The Honeywell smart color thermostat supports up to 20 wireless room sensors for precise temperature and occupancy detection, eliminating uneven heating and cooling throughout your home.
- Installation takes 30–45 minutes for DIY users and requires a C-wire (included adapter available) for continuous power, making the thermostat accessible without professional help.
- Geofencing and unlimited custom scheduling deliver 10–15% verified energy savings when combined with strategic sensor placement in frequently occupied rooms.
- Voice control integration with Alexa, Google Assistant, and Apple HomeKit provides native command execution without subscription fees or third-party workarounds.
- The Honeywell smart color thermostat works only with 24V HVAC systems (forced air, heat pumps, hydronic) and is incompatible with line-voltage baseboard heaters or proprietary systems.
- Proper sensor placement on interior walls, realistic 4–10°F setback schedules, and stable Wi-Fi connectivity are essential to maximize energy savings and avoid common issues like short-cycling.
What Makes the Honeywell Smart Color Thermostat Stand Out?
The Honeywell lineup, particularly the T9 and T10 models, separates itself from competitors through its flexible sensor system and no-subscription pricing model. While some brands lock geofencing or advanced scheduling behind monthly fees, Honeywell includes these features at purchase.
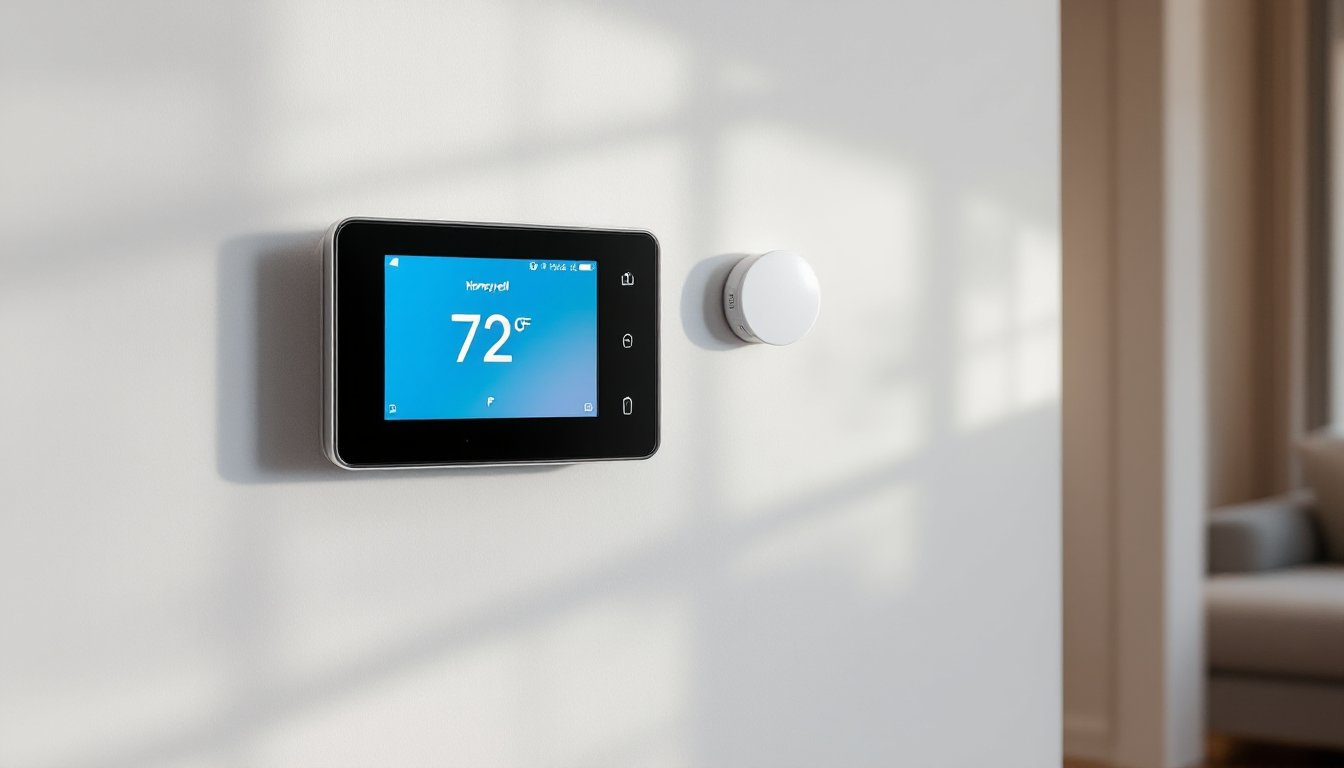
The touchscreen color display provides genuinely readable text even from across the room, a detail that matters when you’re adjusting settings on your way out the door. Screen size varies by model: the T9 sports a 3.5-inch display, while the T10 bumps that to 4.3 inches.
What really sets these units apart is the wireless room sensor capability. Most thermostats only measure temperature at one wall location, usually the hallway, which rarely reflects the actual comfort level in your bedroom or home office. The T9 and T10 support up to 20 wireless sensors that detect both temperature and occupancy, then prioritize comfort in rooms you’re actually using. This addresses the age-old problem of a freezing bedroom while the thermostat reads 72°F in an unused hallway.
Compatibility runs deep. These thermostats work with 24V HVAC systems including conventional forced air, heat pumps (up to 3 heat/2 cool stages), and hydronic setups. They don’t support line-voltage (120V/240V) baseboard heaters or proprietary systems, those require different hardware entirely.
Key Features and Smart Capabilities
The smart capabilities here lean toward practical automation rather than flashy gimmicks. The geofencing function uses your smartphone’s location to switch between Home and Away modes automatically, no manual adjustments needed when you leave for work or return from errands. It works reliably once properly configured, though you’ll want to set a reasonable radius (most users find 1-2 miles works best to avoid premature switching).
Voice control integrates with Amazon Alexa, Google Assistant, and Apple HomeKit, allowing straightforward commands like “set the temperature to 68” without pulling out your phone. The integration is native, not through IFTTT workarounds, which keeps response times quick.
Scheduling flexibility exceeds most programmable thermostats. Instead of rigid 4-period daily schedules, you can create custom schedules for each day of the week with unlimited periods. This matters for shift workers or households with irregular routines. The app (Honeywell Home) lets you copy schedules between days, saving the tedious re-entry work.
Energy reporting provides monthly summaries showing runtime hours, temperature setpoints, and outdoor weather correlation. It won’t itemize your exact dollar savings (too many variables in utility rates and home efficiency), but it clearly shows when your system runs hardest. Independent testing by consumer electronics reviewers has validated 10-15% energy savings for typical users who use scheduling and sensors properly.
The smart response learning feature calculates how long your HVAC system needs to reach target temperature, then starts heating or cooling early. A system that takes 25 minutes to warm up will start at 6:35 AM to hit 70°F by your 7:00 AM wake time, small detail, big comfort difference.
Installation Made Simple: Step-by-Step Setup Guide
Safety first: Shut off power at the breaker panel before touching any wiring. A non-contact voltage tester ($15-25) confirms power is actually off, don’t trust the switch label alone.
Tools you’ll need:
- Phillips screwdriver
- Flathead screwdriver (for terminal screws)
- Smartphone (for app-based setup)
- Drill with 3/16″ bit (if mounting holes don’t align)
- Level (the eyeball method leaves crooked thermostats)
Installation steps:
-
Photograph your old thermostat wiring before disconnecting anything. Label each wire with the terminal letter it was connected to (R, C, Y, G, W, etc.). Masking tape and a marker work fine.
-
Remove the old thermostat from its wall plate. Most twist off or have a release tab at the bottom. Pull gently, don’t yank wires out of the wall.
-
Check for a C-wire (common wire, usually blue or black). The Honeywell smart color thermostat requires continuous power. If you don’t have a C-wire, you have three options: run a new wire from the furnace (straightforward if you have attic/basement access), use a Honeywell C-wire adapter (included with most T9/T10 kits), or hire an HVAC tech (typically $150-250). The included adapter works with most 24V transformers, follow the furnace-side installation instructions carefully.
-
Mount the new wall plate using provided anchors if you’re not hitting a stud. The plate should be level, a crooked thermostat announces “amateur install” to every visitor.
-
Connect wires to matching terminals. Standard color coding: Red = R (power), White = W (heat), Yellow = Y (cooling), Green = G (fan), Blue/Black = C (common). Your photo from step 1 is gospel here. Terminal screws should be snug but not gorilla-tight, 6-8 inch-pounds of torque if you’re using a precision screwdriver.
-
Snap the thermostat onto the wall plate and restore power at the breaker. The screen should light up within a few seconds.
-
Download the Honeywell Home app and follow the in-app pairing process. You’ll need your Wi-Fi network name and password. The thermostat creates a temporary hotspot during setup, this is normal.
Install time runs 30-45 minutes for most DIYers, longer if you’re adding the C-wire adapter at the furnace. If your system has zone dampers, multi-stage heat pumps with aux heat, or dual-fuel setups, consider professional installation, incorrect configuration can damage equipment.
Compatibility Requirements
Before buying, verify your HVAC system matches these specs:
- Voltage: 24V AC only (standard for most forced-air systems)
- Heating stages: Up to 3 (single-stage gas, dual-stage gas, or heat pump with aux)
- Cooling stages: Up to 2
- Wiring: Minimum 4 wires, including C-wire or ability to add one
Not compatible with:
- Line-voltage systems (120V/240V electric baseboard, wall heaters)
- Millivolt systems (standing pilot gas fireplaces, some older furnaces)
- Proprietary communicating systems (Carrier Infinity, Lennox iComfort)
Check the terminal letter markings on your current thermostat. If you see letters like R, C, W, Y, and G, you’re almost certainly compatible. If you see completely different markings or thick wires (14-gauge or larger), you likely have a line-voltage system that won’t work.
Optimizing Your Thermostat for Maximum Energy Savings
Smart features only save energy if you actually use them. Here’s how to squeeze real savings from your hardware investment.
Strategic sensor placement matters more than Honeywell’s marketing admits. Place sensors in rooms where you spend the most time, bedrooms, home office, living room, not in hallways or near exterior doors. Mount them on interior walls 4-5 feet off the floor, away from direct sunlight, supply vents, and return grills. Each sensor runs on two AA batteries lasting 1-2 years.
Configure sensor priority through the app. During sleeping hours (10 PM-6 AM), prioritize bedroom sensors. During work-from-home hours (8 AM-5 PM), prioritize the office. The system will focus on keeping occupied rooms comfortable while letting unoccupied spaces drift a few degrees.
Setback strategies vary by climate and system type. For gas forced air in cold climates, an 8-10°F nighttime setback (68°F day, 60°F night) delivers measurable savings without excessive morning recovery time. Heat pumps shouldn’t exceed 4-5°F setbacks, larger drops trigger inefficient auxiliary heat. In cooling mode, a 5-7°F setback when you’re away works well: overcooling to “catch up” wastes more than it saves.
Geofencing works best when you set a departure delay. Configure it to switch to Away mode 30 minutes after the last person leaves, this prevents rapid mode switching if someone runs out for a quick errand. Similarly, set arrival mode to trigger when the first person gets within 1 mile, the system needs lead time to reach comfort temperature.
Many smart energy thermostat systems now track seasonal efficiency patterns. Review your monthly energy reports and adjust schedules seasonally. A 7 AM wake-up heat cycle that worked in January might be overkill in March when overnight lows rise.
Humidity monitoring (on T10 Pro models) impacts comfort more than most homeowners realize. Air at 72°F and 30% humidity feels colder than air at 70°F and 45% humidity. In winter, if humidity drops below 30%, you’re likely over-heating to compensate, consider a whole-house humidifier ($200-400 installed). In summer, indoor humidity above 55% makes your AC work harder: a dehumidifier ($250-350) often pays for itself in reduced cooling costs.
Troubleshooting Common Issues and Maintenance Tips
Wi-Fi connectivity drops rank as the most common complaint. If your thermostat repeatedly loses connection, check the signal strength in the app settings, anything below two bars causes problems. Most HVAC systems install on interior walls that see weak Wi-Fi. Solutions: move your router closer, add a Wi-Fi mesh node ($80-120), or use a Wi-Fi extender positioned between router and thermostat. The Honeywell uses 2.4 GHz only, disable band steering in your router settings if you have a dual-band network, or create a dedicated 2.4 GHz SSID.
Incorrect temperature readings usually trace to poor sensor placement or sunlight exposure. If the main unit reads 3-4°F high, it’s probably in direct afternoon sun or too close to a supply vent. Relocate it to an interior wall away from heat sources. If room sensors show odd readings, check battery levels first, weak batteries cause erratic temperature reports.
System short-cycling (furnace or AC turning on and off rapidly) often indicates incorrect system configuration in the app. Go to Settings > Installation Settings and verify you’ve selected the right system type (conventional, heat pump, etc.) and stage count. Wrong settings trigger short protection delays that confuse the equipment. If cycling persists after verifying settings, you may have an HVAC issue unrelated to the thermostat, oversized equipment, dirty filters, or refrigerant problems require professional diagnosis.
“No power” or blank screen after a power outage points to a tripped breaker or blown fuse at the furnace. Check the breaker panel first, then look for a 3-amp or 5-amp fuse on the furnace control board. If neither resolves it, check wire connections at both the thermostat and furnace, a loose C-wire is the usual culprit.
Routine maintenance takes minimal effort:
- Wipe the screen monthly with a dry microfiber cloth (no cleaners, they damage the coating)
- Vacuum the wall plate openings twice yearly to prevent dust buildup in the terminals
- Replace room sensor batteries when the app warns (usually 12-18 months)
- Update firmware when prompted, updates fix bugs and occasionally add features
The Honeywell system stores settings in non-volatile memory, so power outages won’t erase your schedules. But, battery backup (two AA batteries in the wall plate) only maintains settings for 4-6 hours during extended outages, after that, you’ll need to reconfigure Wi-Fi but not schedules.
For persistent issues, Honeywell’s support line (1-800-468-1502) provides better help than most smart home companies. Have your model number and installation photos ready. Their online troubleshooting guides at support.honeywellhome.com cover edge cases the manual skips.
Conclusion
The Honeywell smart color thermostat delivers on its core promise: reliable climate control that reduces energy waste without demanding constant attention. Installation sits well within DIY capabilities for anyone comfortable with basic wiring, and the sensor system solves real comfort problems that single-point thermostats can’t address. Focus on proper sensor placement, realistic setback schedules, and stable Wi-Fi, get those three elements right, and you’ll see the utility bill impact within the first month.